Dom
Nowe Produkty
Kobiety
Apparel
The Moto Jacket
T-Shirty
Obuwie
Mary Janes
Loafersy
Czółenka
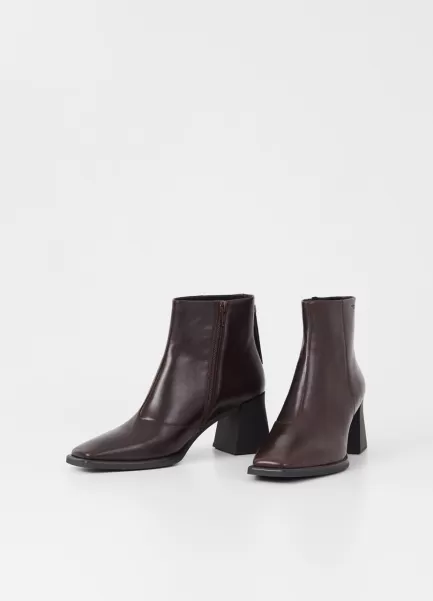
Botki I Kozaki
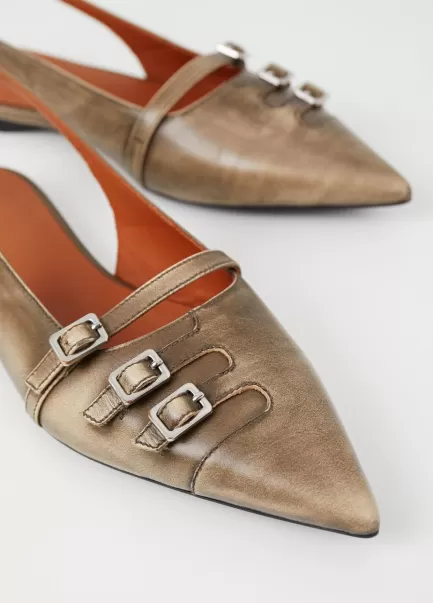
Baleriny
Buty
Sneakersy
Sandały
Pielęgnacja Obuwia
Akcesoria
Torebki
Rękawiczki
Mężczyźni
Obuwie
Sneakersy
Loafersy
Botki
Buty
Sandały
Buty Slip-On
Akcesoria
Rękawiczki
Kobieta
Dzianina
Swetry Z Okrągłym Dekoltem
Swetry Z Dekoltem W Serek
Golfy
Topy I T-Shirty
Koszule I Bluzki
Kardigany
Odzież Wierzchnia
Kurtki I Marynarki
Płaszcze
Kurtki Puchowe
Bezrękawniki
Kurtki Parki
Spodnie
Z Szeroką Nogawką
Cygaretki
Sukienki I Spódnice
Sukienki I Spódnice
Odzież Domowa
Bluzy
Spodnie
Akcesoria
Czapki I Kapelusze
Rękawiczki
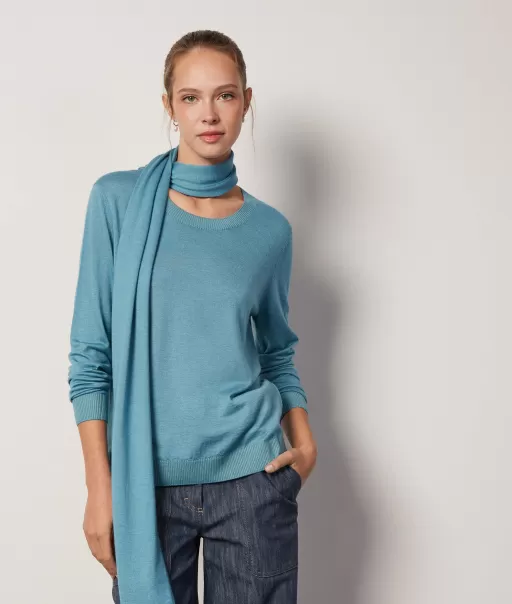
Szaliki I Chusty
Mężczyzna
Dzianina
Swetry Z Okrągłym Dekoltem
Swetry Z Dekoltem W Serek
Golfy
T-Shirty I Koszulki Polo
Koszule
Kardigany
Kamizelki
Odzież Wierzchnia
Kurtki I Marynarki
Płaszcze
Kurtki Pikowane
Bezrękawniki
Kurtki Parki
Spodnie
Spodnie
Odzież Domowa
Bluzy
Akcesoria
Czapki I Kapelusze
Szaliki
Rękawiczki
Dom
Nowe Produkty
Kobiety
Apparel
The Moto Jacket
T-Shirty
Obuwie
Mary Janes
Loafersy
Czółenka
Botki I Kozaki
Baleriny
Buty
Sneakersy
Sandały
Pielęgnacja Obuwia
Akcesoria
Torebki
Rękawiczki
Mężczyźni
Obuwie
Sneakersy
Loafersy
Botki
Buty
Sandały
Buty Slip-On
Akcesoria
Rękawiczki
Kobieta
Dzianina
Swetry Z Okrągłym Dekoltem
Swetry Z Dekoltem W Serek
Golfy
Topy I T-Shirty
Koszule I Bluzki
Kardigany
Odzież Wierzchnia
Kurtki I Marynarki
Płaszcze
Kurtki Puchowe
Bezrękawniki
Kurtki Parki
Spodnie
Z Szeroką Nogawką
Cygaretki
Sukienki I Spódnice
Sukienki I Spódnice
Odzież Domowa
Bluzy
Spodnie
Akcesoria
Czapki I Kapelusze
Rękawiczki
Szaliki I Chusty
Mężczyzna
Dzianina
Swetry Z Okrągłym Dekoltem
Swetry Z Dekoltem W Serek
Golfy
T-Shirty I Koszulki Polo
Koszule
Kardigany
Kamizelki
Odzież Wierzchnia
Kurtki I Marynarki
Płaszcze
Kurtki Pikowane
Bezrękawniki
Kurtki Parki
Spodnie
Spodnie
Odzież Domowa
Bluzy
Akcesoria
Czapki I Kapelusze
Szaliki
Rękawiczki
Gorący produkt
Kobiety Rabat Vagabond Sneakersy Selena Sneakersy Wielobarwny Zamsz/Skóra
66zł
102zł
Kobieta Falconeri Dark_Green Swetry Z Okrągłym Dekoltem Sweter Z Okrągłym Dekoltem Z Kaszmiru Ultrasoft
102zł
107zł
Golf Z Kaszmiru Ultrafine Blue Mężczyzna Falconeri Golfy
99zł
104zł
Kardigany Blue Falconeri Mężczyzna Kardigan Z Guzikami Z Kaszmiru Ultrafine
90zł
106zł
Pulower Z Kaszmiru Ultrafine Swetry Z Okrągłym Dekoltem Blue Falconeri Kobieta
84zł
99zł
Pulower Z Krótkim Rękawem Z Kaszmiru Ultrafine Yellow Falconeri Topy I T-Shirty Kobieta
83zł
88zł
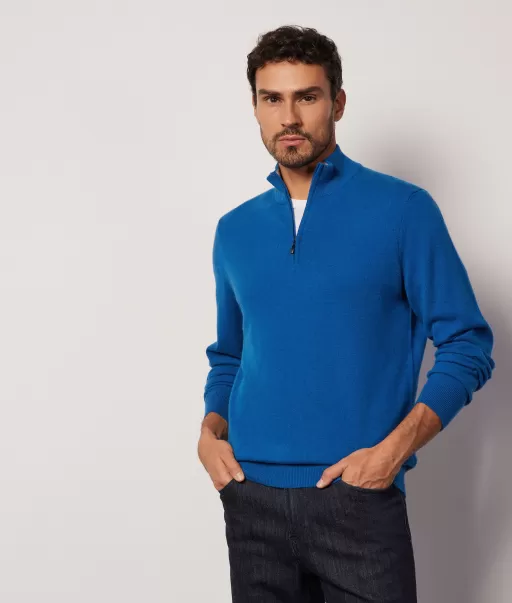
Falconeri Swetry Z Dekoltem W Serek Sweter Ze Stójką I Suwakiem Pod Szyją Z Kaszmiru Ultrasoft Mężczyzna Blue
67zł
103zł
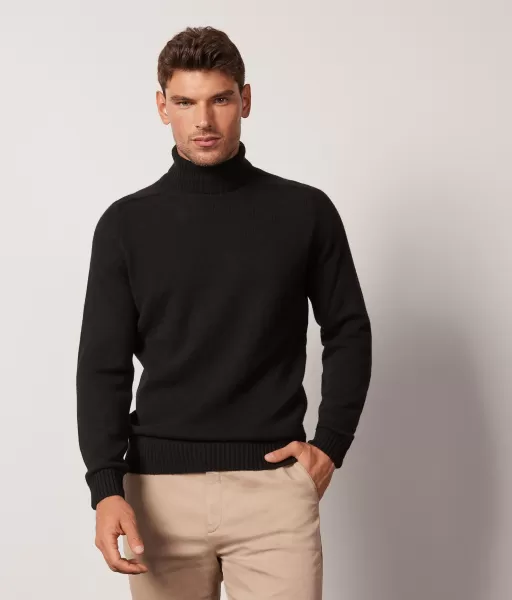
Golfy Black Falconeri Golf Z Kaszmiru Ultrasoft Mężczyzna
71zł
110zł
Grey Falconeri T-Shirty I Koszulki Polo Mężczyzna Koszulka Z Bawełny Twist
43zł
78zł
Kobiety Alina Wysokie Kozaki Nowy Vagabond Czarny Skóra Botki I Kozaki
58zł
105zł
Brazowy Skóra Cena Vagabond Botki I Kozaki Kobiety Hedda Botki I Kozaki
77zł
81zł
Edycja Limitowana Szary Szczotkowany Buty Hermine Obuwie/Buty Vagabond Kobiety
78zł
92zł